Tuesday 29 July 2014

SHOWING MOVEMENT

SHOWING MOVEMENT 
All the parts of the body combine to show movement of the figure. Our jointed skeleton and muscles allow us to bend and stretch into many different positions. To create drawings with realistic poses, it helps to study how a body looks and changes when stretched or flexed, as well as when sitting or standing. Begin by drawing the line of action (a line to indicate the curve and movement of the body) or "gesture" first; then build the forms of the figure around it.


Extending and Contracting The spine is flexible and allows us to bend many ways while stretching and contracting our Limbs_ These three poses show how the shape of the body can change drastically while the proportions stay the same.


Stretching and Bending You almost can feel the muscles stretching on this cheer leader's body as she pulls up her right leg behind her head. Notice how the bending figure creates wrinkles and tightly stretched areas in the clothing. Be sure to draw these creases and smooth areas to make your drawing believable


Everyday Action This woman kneeling in her garden is bending into an 5 shape. All wrinkles or folds in the fabric are on the inward side of the body's bend; the back side is fairly smooth. The curve of her turned head has only a slight influence on the line of action. 

Saturday 19 July 2014

FACIAL FEATURES THE SMILE

FACIAL FEATURES
THE SMILE Facial expressions will add life to your artistic work because your drawings will seem more realistic. One of the most basic ways to create expression is with a smile. The illustrations on this page demonstrate steps for drawing smiles


When a person smiles, the rest of the facial features are affected. For example, the bottom eyelids move slightly upward, making the eyes appear smaller. 


Smiling also causes creases around the mouth and produces more highlights on the cheek area because the cheeks are fuller and rounder. The lips, on the other hand, require fewer highlights because the smile causes them to slightly flatten out.


Once you've mastered drawing separate facial features, combine them to build the entire face. Use the head proportions you've already learned to correctly place the features.


FACIAL FEATURES: LIPS

FACIAL FEATURES: LIPS
Lips can be very easy to draw if you study their forms closely. For example, notice that the top lip often protrudes slightly over the bottom one. You should also familiarize yourself with the various planes of the lips to shade them well.


Top lip slightly protrudes. 


Shade in the direction of the planes of the lips


To draw the lips, block in the overall mouth shape with preliminary guidelines. Once you have a satisfactory line drawing, you can begin shading, paying particular- attention to where the highlights are. Highlights enhance the lips' fullness.


Divide the upper lip into three parts and the lower lip into two parts, as shown above. These light division lines will help you draw the top and bottom lips in proportion with each other.


Facial planes around the mouth


When drawing men's lips, keep the shading light or they may appear as though they're covered with lipstick. Also, note that men's lips generally do not appear as full as women's.


Determine how much detail you'd like to add. For instance, these examples don't show any clearly defined teeth, but how you handle this depends on personal preference

Friday 18 July 2014

LIFE DRAWING (FULL BODY)

LIFE DRAWING (FULL BODY) 
Drawing from a live model (also called "drawing from life" or "life drawing") is a wonderful exercise in drawing the human body in its various shapes and positions. Drawing from life helps you avoid overworking your drawing because you're instead focused on quickly recording the gesture and specific details of your model before he or she moves, resulting in a spontaneous, uncomplicated finished drawing. Take advantage of available models-your children, other family members, or friends-whenever possible. When drawing from life, be sure the pose is comfortable for the model. Allow short breaks for your models (also providing you time to rest), and don't require them to smile, as this can tire out their facial muscles. Because you're working at a faster pace, drawing from life will help you learn freedom and flexibility-both of which will benefit your drawings regardless of the type of reference. It also will help you appreciate the subtleties the eye perceives that the camera can't such as the twinkle in this man's eye!


Step One Using an HB pencil, lightly block in the basic shapes of the figure and the rocking chair, paying particular attention to the vertical lines and balance to make sure the figure doesn't look as if he's going to tip over in the chair. Notice that the model's back curves forward while the back of the chair angles backward, and his head aligns vertically with the back of the chair leg. Foreshorten the right leg and make the right foot larger than the left because the right leg is angled toward the viewer_


Step Two Begin to refine the shapes, indicating the clothing and shoes. Then block in the mustache and beard, and place guidelines for the facial features. Study the model's face to see how the proportions and placement of the features differ from the "average" proportions. 


Step Three With a B pencil, draw in the facial features and refine the shapes of the head, including the ear, hair, and hat. Then hone the rest of the body, drawing the folds and details of the fabric and adding the fingers on the left hand. Next further develop the chair, using a ruler to create straight lines. Continue by shading the hat, the sock, the far rocker, and the model's back. 


Step Four Using a 2B pencil, begin shading the hat, leaving the top edge and a line on the brim white. Add some detailing to the hair and beard with short strokes, following the direction of growth. Shade the clothing, leaving the areas white along the side where the light hits. Watch the shapes of the wrinkles and how they affect the lights and shadows. Also shade some of the rocker, and lightly sketch in the shapes of the cast shadows.


Step Five Lightly shade the face, varying your strokes to follow the different planes. Add further details and shading to the eyes, nose, mouth, ear, hair, and facial hair. Study your model to see what details will help create a likeness. Then shade the clothing and chair, always keeping in mind where the light is coming from and adjusting the lights and shadows as needed to enhance the illusion of depth. Use a 4B pencil for the darkest areas and leave the lightest areas pure white. Soften any hard edges with an eraser, a tortilla, or a tissue. finally, step back from your drawing, squint your eyes, and see if there are any areas that need to be corrected. If any areas are too light or too dark, adjust them as necessary. 


FACE DETAIL 
To create the beard, apply very dark tone to areas of the beard, showing the gaps between groups of hair. Also leave some areas of the paper completely white to reflect the areas of the beard that are in the direct path of sunlight. When detailing the face, shade very lightly to indicate wrinkles and creases. The wrinkles should appear soft, so avoid using hard lines. To create the twinkle in the eyes, pull out a highlight in each pupil with a kneaded eraser. 

Wednesday 16 July 2014

INDICATING FAIR FEATURES

INDICATING FAIR FEATURES
When drawing a subject with fair skin and hair, keep your shading to a minimum; apply just enough medium and dark values to create the illusion of form without creating the appearance of color. Draw blond hair by outlining the general shape, then adding a few carefully placed strokes to suggest the hair style and create some dimension. Keep in mind that light, wispy eyebrows and freckles often accompany fair skin and hair.


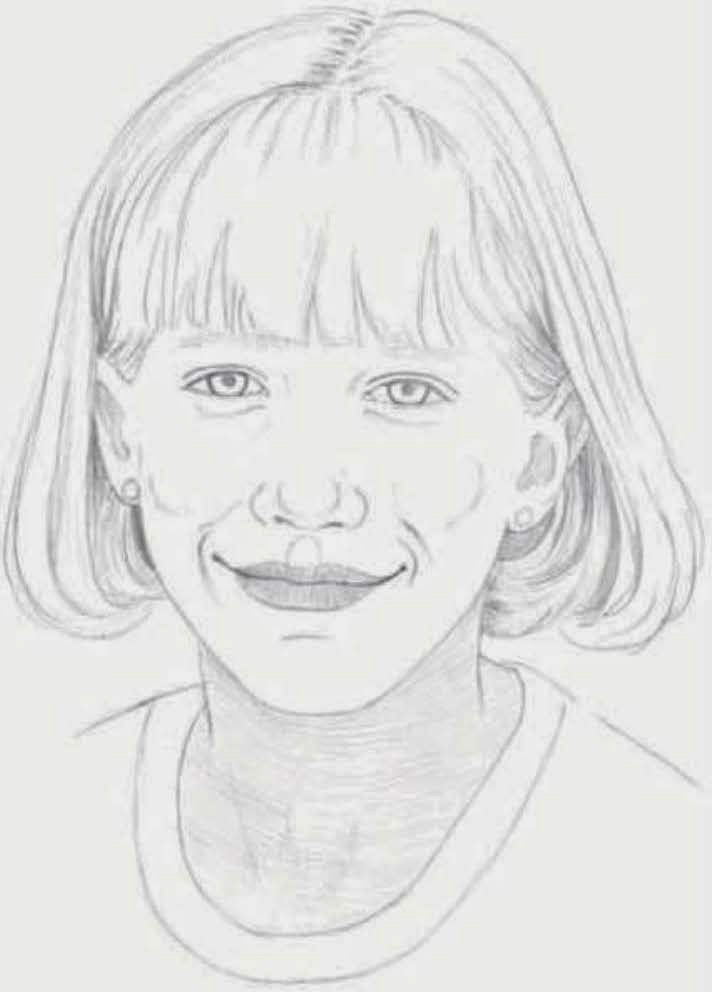
Shading Fair Skin and Hair In this photo, the over head light makes the bangs, nose, and cheeks look nearly pure white, so I avoid these areas when shading my drawing, leaving much of the paper white.


Step One First I lay out the face with an HB pencil. The face is slightly tilted to the subject's left, so I shift the vertical center line to the left a bit as well. I lightly place the eyes, nose, mouth, and ears, then block in her long, slender neck. 


Step Two Switching to a 2B pencil, I develop the features. Although I use the photo for a reference, I use artistic license to adjust my rendering as I see fit. For example, I sketch the bangs so they fall straight onto her forehead, rather than being swept to the side as they are in the photo. I also omit the strand of hair that is blowing in the wind. 


Step Three Now I refine the features, erasing my guide lines as I draw. I continue building up the hair, leaving the top and sides mostly white, adding only a few dark strands here and there. The darkest values are around the ears where the hair is in shadow. Next I add small circles for the earrings and shade the insides of the ears. I develop the lips, then use horizontal strokes to shade the neck


Step Four I shade the face with light, soft strokes to depict the subject's fair skin. Then I make short, quick strokes for the eyebrows, keeping them light and soft to indicate blond hair. Next I shade the irises using strokes that radiate out from the pupil. I also add some hatching strokes to the neckband of the shirt.


Step Five Using a kneaded eraser, I pull out a highlight on the bottom lip. Then I create more dark strands of hair and further develop the eyes and eyebrows. I begin adding freckles, making sure that they vary in size and shape. (See "Creating Realistic Freckles" below.) Finally I shade the shirt, using relatively dark strokes. It's easy for a blond subject to look washed out on white paper, so the dark values in the shirt help frame the subject and make her face stand out.

CREATING REALISTIC FRECKLES 
To draw freckles, space them sporadically, in varying sizes and distances from one other. You don't have to replicate every freckle on your subject's face-just draw the general shapes and let the viewer's eye fill in the rest. What to Do Make sure some of the freckles overlap, and make some light and some dark by varying the pressure you place on the pencil. 


 What Not to Do When drawing freckles, do not space them too evenly or make them 
equal in size, as shown here. These freckles look more like polka dots!
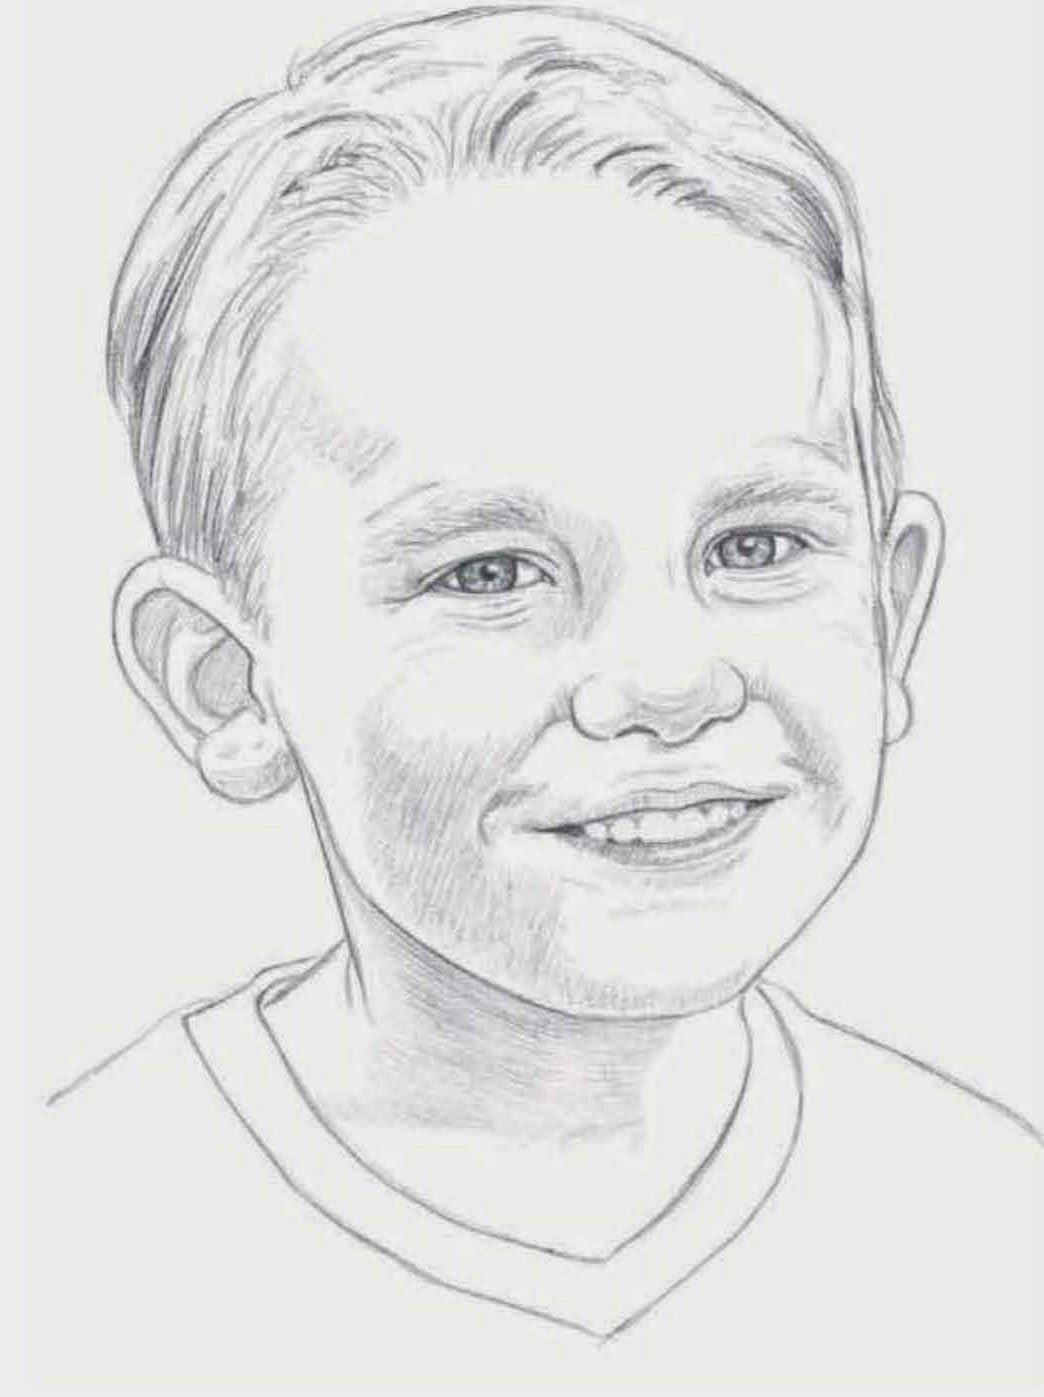

DEPICTING FINE HAIR 
Blond hair is often finer than darker hair, especially in children. Draw fine hair in narrow sections, leaving plenty of white areas showing through the dark values. Add some short, wispy strands of hair at the forehead to frame the face

Tuesday 15 July 2014

CHOOSING A PHOTO REFERENCE

CHOOSING A PHOTO REFERENCE
If you're using a photograph as a reference while you draw, it's usually best to have several different photographs from varying angles and with different light sources to choose from. Not only does this give you a wider selection of poses and lighting options, it also allows you to combine different elements from each photograph. For example, if you are satisfied with the lighting in one photograph but you're drawn to the facial expression in another, you can combine the best parts from each for your portrait.


Finding the Best Pose In photo A, the subject's eyes are squinting just a tad too much. In photo B, the subject's pose seems stiff and stilted. But in photo C, his pose and expression are just right! 


Step One After studying my selection of photographs, I choose the best one and use it as a reference to block in the outline of the face, the guidelines, and the features_ 


Step Two I compare my initial sketch with the photograph and make necessary adjustments, indicating the roundness of the bottoms of the earlobes with light circles. Next I draw the slightly protruding teeth


Step Three After erasing my guidelines, I use a 2B pencil to add details to the eyes and eyebrows, and I also shade the lips and cheeks. My photograph shows that the light source is coming from above, so I leave the lightest areas at the top of the head and create the darkest values on the bottom half of the face and neck.


Step Four I darken the hair by firmly shading with a 2B. I continue evenly shading the face and the neck, then add a few light freckles with the ti p of my pencil. I darken the inside of the mouth to give the teeth form and add detail to the shirt by stroking on horizontal stripes and shading the neckband. Finally I compare my photograph with my drawing, making sure I've captured the likeness.