Tuesday 30 September 2014

DEPICTING THE ARM SIDE VIEW

DEPICTING THE ARM SIDE VIEW


Bones Here the arm is not viewed in full profile; rather it is seen from an angle that is a combination of a side view and a back view. Because of the angle, the bony landmarks most apparent under the muscle are the olecranon, outer epicondyle, and head of ulna. 
Muscles The side view provides a good angle for observing the extensors and flexors of the upper and lower arm. The brachioradialis, located where the upper and lower arms meet, is particularly important. It originates on the lateral side of the humerus (C), above the outer epicondyle (E), and then attaches to the lateral side of the wrist above the head of radius (I). 


The brachia radialis is responsible for turning the palm up (supinate), and the pronator teres (see page 30) for turning the palm down (pronate). The radius (shaded) rotates around the fixed ulna, permitting pronation and supination of the palm.


The span between the inside bend of the elbow and the wrist is usually about one hand length. The arrows show the inward and outward curvature of the muscles, and the dashed line shows the line of the ulna, called the "ulnar furrow." 

Wednesday 24 September 2014

PORTRAYING THE HAND

PORTRAYING THE HAND


Bones The hand contains 8 wrist (carpal) bones: minor multangular (1), major multangular (2), navicular (3), lunate (4), triquetrum (5), pisiform (6), hamate (7), and capitate (8). The hand also features 5 metacarpals (9) and 14 phalanges (10). 


Muscles The flexor tendons (A, B, C) from the forearm muscles (see page 30) extend into the hand. The teardrop-shaped muscle masses, the thenar eminence abductors of the thumb (I, J) and the hypothenar eminence abductor (D) and flexor (E) of the little finger, are known as the "palmer hand muscles." The adductor of the thumb (G) lies under the flexor tendons (F). The visible creases of the palm result from the way the skin folds overthe fat and muscles of the hand.

BACK 


Bones From this view of the hand, all the same bones are visible, but the carpal bones appear convex rather than concave. From this angle, the bones have more influence on the shape of the fleshed·out hand. 


Muscles Whereas the palm side of the hand is muscular and fatty, the back of the hand is bony and full of tendons. The extensor tendons of the thumb (A) are visible when contracted, as are the other four extensor tendons (C). The first dorsal interosseous (B) is the largest of the four dorsal interosseous muscles, and it is the only one that shows its form through the skin's surface; when the thumb is flexed, this muscle appears as a bulging teardrop shape. 

Friday 19 September 2014

SKETCHING THE LEG FRONT VIEW

SKETCHING THE LEG FRONT VIEW


Bones The fe mur (B), with its great trochanter at the top (A) and outer epicandyles (e) and inner epicandyles (D) at the base, is the heaviest and longest bone of the skeletalsys­ tern. The knee cap (patella) sits in between the outer epicandyles and inner epicandyles on the patellar surface. The lower leg consists of the thick tibia (I) and the slender fibula (H). The tibial tuberosity (F) and head of the fibula (G) are important landmarks at the top, as are the ankle bones (the inner malleolus and outer malleolus). 
Muscles The upper leg has four major muscle masses: vastus externu s, which attaches to the knee cap (E); rectus fe moris, which engulfs the patella (E) and continues toward the tibial tuberosity (F); vastus internus, a medial bulge; and the adductor group on the inside of the leg. There also are two other masses: the tensor fascia lata and the sartorius. The sartorius is the longest muscle in the body. The lower leg has six long muscles visible: gastrocnemius, protruding on both sides; tibialis anterior, running along the shin toward the big toe; soleus; flexor digitorum longus; extensor digitorum longus; and peroneus longus.

Drawing Tips The legs angle in toward the middle, positioning the body's weight over the gravitational center. (See figures 1 and 2.) The muscle masses on the outside of the leg are higher than those on the inside. (See figure 3.) The ankles are just the reverse-high inside, low outside. 

Saturday 13 September 2014

SKETCHING THE LEG BACK VIEW

SKETCHING THE LEG BACK VIEW


Bones From the back view, the same leg bones that appear in the front view are visible. Their appearance is slightly altered, however, because the bone attachments in the front are designed to allow muscles to extend, and the back attachment is designed for muscles to flex.

Muscles The upper leg consists of five large muscle masses: gluteus maxim us; gluteus medius; the hamstring group (biceps femoris, semitendinosus, and semimembranosus); the adductor group; and the vastus extern us, which can be seen peeking out from behind the biceps femoris. 

The lower leg also features five masses: three larger ones and two smaller. The larger masses are the two heads of the calf: the gastrocnemius and the Achilles tendon, which connects to the heel bone. The two smaller masses are the inner soleus and outer soleus. Also notice the hollow area behind the knee where the calf tendons attach, called the "popliteal fossa"; this fatty hollow makes deep knee bends possible.

Drawing Tips The calf is lower and rounder on the inside than it is on the outside. (See figure 1.) 
The hamstring tendons grip below the knee on both sides, almost like a pair of tongs. (See figure 2.) 

Wednesday 10 September 2014

SKETCHING THE LEG SIDE VIEW

SKETCHING THE LEG

SIDE VIEW


Bones and Muscles Because the long femur (B), and large tibia (H) carry the weight of the body, they sit directly on top of each other. But in a side-view drawing, the upper and lower leg appear staggered; the front of the shin lines up directly below the iIlio-tibial band muscles and behind the upper-leg masses of the rectus femoris and vastus extern us.
In the lower leg, the forms to look for are the gastrocnemius; the long, straight form of the Achilles tendon; the peroneus longus tendon, which passes behind the outer malleolus (I) and the bulk of the extensor digitarum longus; and the tibialis anterior, toward the front of the leg. 

 
Drawing Tips The six arrows in figure 1 show the overall gesture of the leg. The upper thigh and lower calf create the gesture. (See figure 2.) Figure 3 shows the pattern of tendons in the foot. (See page 19.)

Monday 8 September 2014

DRAWING THE FOOT

DRAWING THE FOOT


Bones like the hand, the foot also comprises three parts: seven tarsal bones (A-E), five metatarsals (F), and fourteen phalanges (G). The tarsal bones include the ankle, heel, and instep. The metatarsals are longer and stronger than the five metacarpals of the hand, and they end at the ball of the foot. The phalanges of the toes are shorter than those of the fingers and thumb; the four small toes press and grip the ground surface, and the big toe tends to have a slight upward thrust.


Muscles When the foot is flexed upward, these tendons are evident: extensor digitorum longus (1), extensor digi­ torum brevis (2), tibialis anterior (3), and extensor hal/ucis longus (4). (From the side view, extensor digitorum brevis appears as a round shape inside a triangular pocket.) Peroneus longus (6) curves around the ankle, whereas abductor digiti minimi (7) appears as a bulge on the outer side of the foot. 


Drawing Tips The tibialis anterior (3) is an obvious landmark on the inverted foot. (See figure 1, above.) In figure 2, dorsi·flexion makes visible the extensor digitorum (1). In figure 3, plantar·flexion lets you see the ten· dons of peroneus (6). 

Wednesday 3 September 2014

CHOOSING A POSE

CHOOSING A POSE Not every photo you take is going to be good, and not every pose your model strikes is going to be perfect. Look for poses that are natural and balanced, not stiff or boring. Some movement or tension can make the pose more interesting, but your subject should look stable and comfortable in the position. Unless in motion, the model should not have his or her arms and legs stretched out in all directions; instead, he or she should be more compact and relaxed. The pose should reflect the personality or interests of the subject. Take many photos to use as references, and evaluate them for suitability.

EVALUATEING PHOTOS


Selecting a Photo Reference In photo A, the subject has a stable, compact pose, but he looks a bit stiff and bored; his personality doesn't show through. The pose in photo B is more relaxed, but the boy looks a little out of balance, and his arms and legs are in awkward positions; in addition, the light behind him is a bit harsh. Photo C is a great pose to represent this young man. He looks quite comfortable, and his hands and feet are in good, natural positions; his head is turned at a 90° angle to his body, which helps give some movement and interest to the pose. The lighting is more even as well. This is the best pose to use for a drawing.


Step One Using an HB pencil, block in the figure. Place the head above the center of the main body mass, as indicated by the vertical line. Sketch the shapes of the arms and legs, drawing through the overlapping body parts for correct placement. The vertical center line on the head shows the three-quarter view. Add the horizontal guidelines for the facial features. Sketch the general shapes of the shoes and the lines for the ends of the shorts and the shirt sleeve_ Be sure the pose and proportions are accurate before adding any details.


Step Two Now it's time for some definition_ Place the facial features on the guidelines. Remember: The guides you learned about earlier are based on averages; to achieve a good likeness, be sure to follow your photo reference and adjust accordingly-for example, accounting for this boy's high forehead and wide-set eyes. Indicate the hair, and sketch in the clothing, showing some of the folds and wrinkles. Sketch in the shapes of the fingers of his left hand and the elbow of his right arm. Refine the shapes of the shoes, and indicate laces.


Step Three Erase the guidelines. Then use a B pencil to refine the facial features and the hair. Give the fingers a more precise shape, and add the fingernails. Refine the shapes of the arms, legs, and clothing, removing unneeded lines with a kneaded eraser. Using "artistic license" (the artist's prerogative to ignore what actually exists, and to make changes, deletions, or additions), the author decides to change the shoelace so it is not awkwardly sticking up at an odd angle.


Step Four Using a 2B pencil, begin shading the hair with strokes that follow the direction of growth. Leave areas of white paper where the light hits the hair. Shade some darker areas around the eyes, cheekbones, and under the lips, as well as on the neck. Use a very sharp pencil and small strokes for the eyebrows and lashes. Darken the legs where they are in shadow; these strokes follow the curve of the leg and help show its form. (See "Shading the Forms" at right.) Begin to shade the arms and other areas in shadow, such as the ends of the fingers. Add more shading to the clothing and shoes, rendering additional details as you go. 


Step Five Using a very sharp 2B pencil with light pressure, shade the face, leaving a white highlight on the nose and chin and on the side of the right cheek that is in more direct sunlight. To show the delicate form of the face, place your shading strokes very close together and follow the contours of the face, often changing direction. Shade the arms and legs using a little pressure for the lighter areas; press harder for darker areas. Leave a white highlight on the top of the right arm to show where the sunlight is reflected. Along the back, leave a vertical area of white paper to represent the bright sunlight on the shirt; other folds of the shirt and pants also have highlights. Use a 3B pencil to add some dark areas in the hair and in the darkest areas of the clothing before switching back to the 2B pencil. The shoes receive a little more refining and shading; don't draw all the details, as they are not needed. Add some grass, leaves, and a little shading to show that the boy is sitting outside. Leave a lot of white paper around him, providing very little detail to the grassy area to keep the focus on the boy.


SHADING THE FORMS 
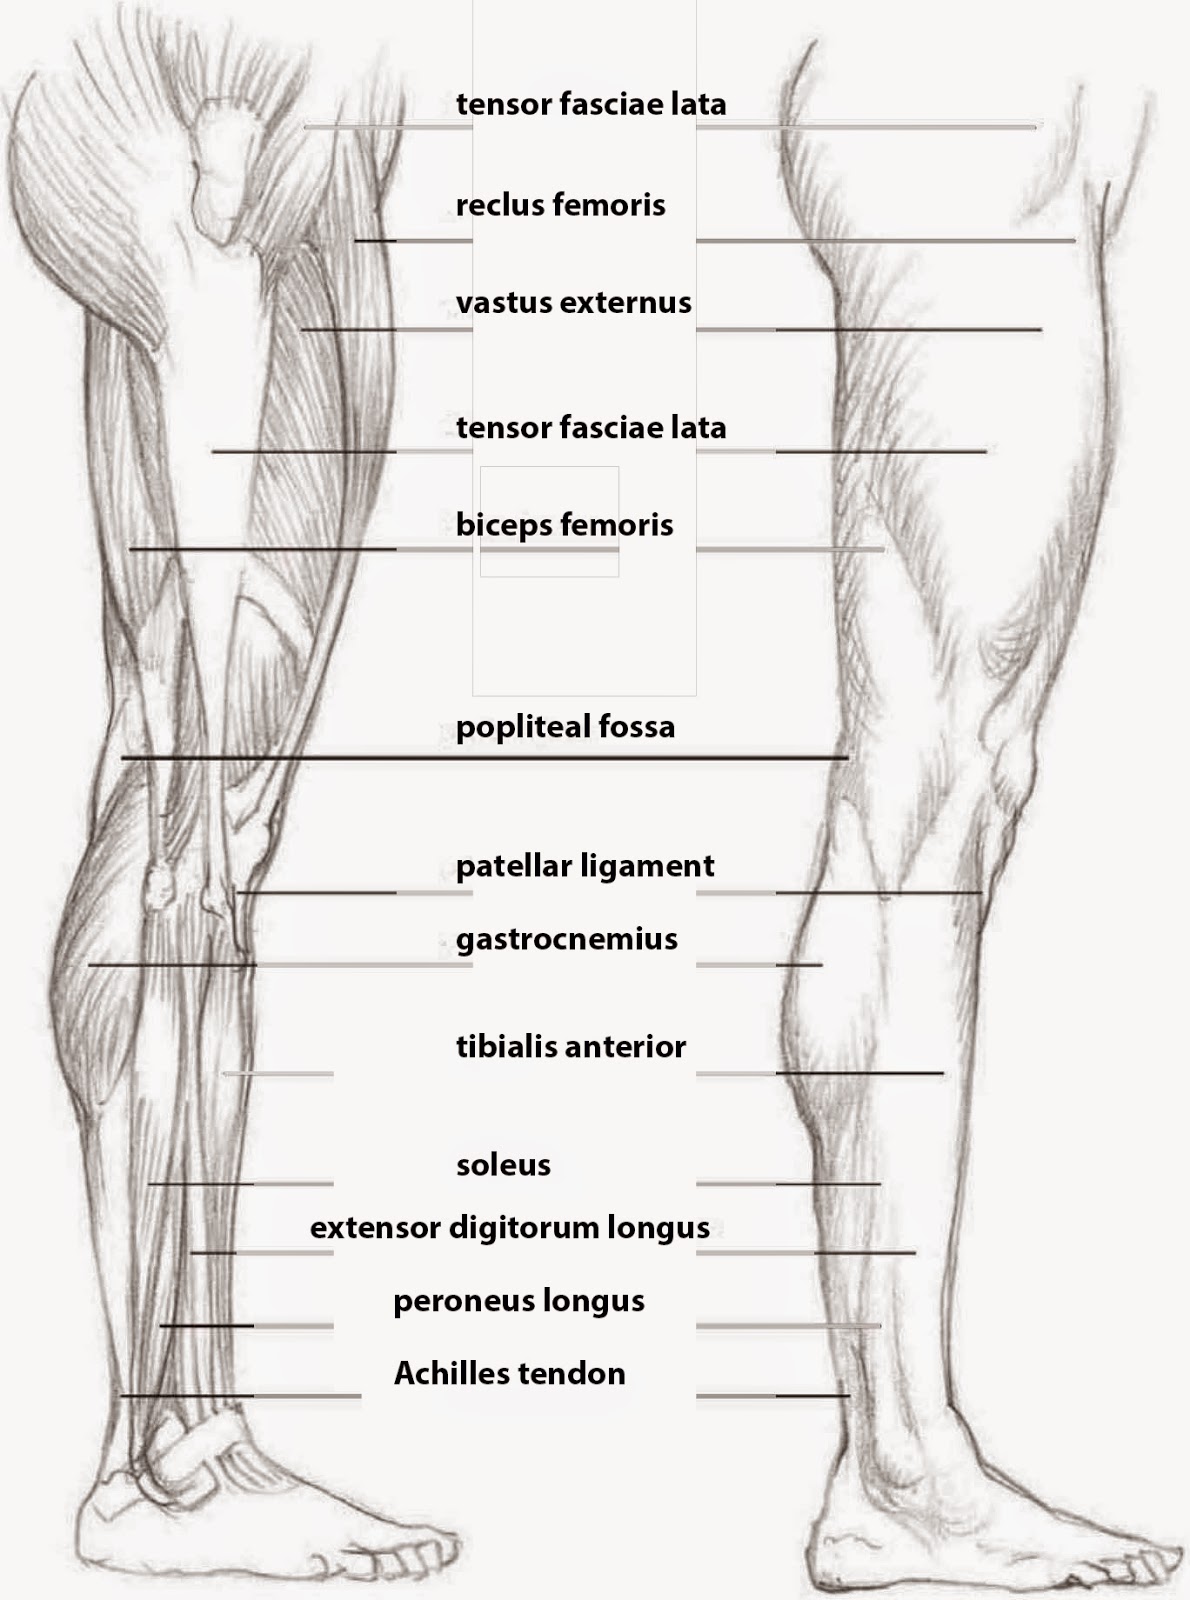
Shading with varying values-from black through all shades of gray to white-enhances the illusion of depth in a drawing. Effective shading also adds life and realism to a drawing. When shading cylin­ drical elements, such as the arms and legs, make sure your pencil strokes follow the curved forms, as shown in the diagram at right. This illustration has been exaggerated to demonstrate the different directions the shading lines should follow; your strokes, of course, will be smoother with subtle gradations and highlighting.